
Our first family photo in our first owned home! (A proper fixer-upper to say the least).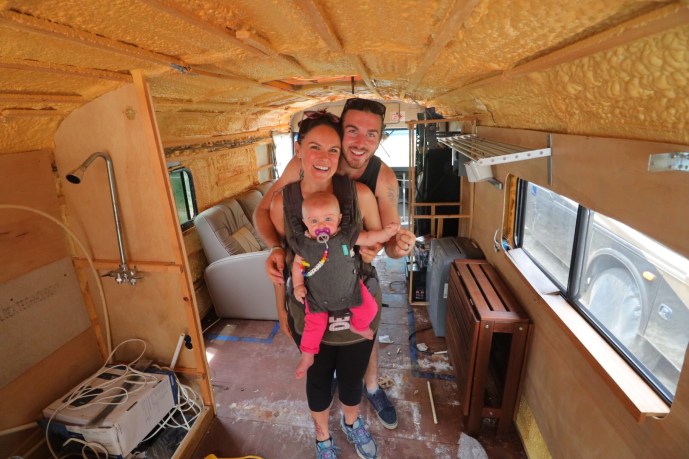 The last week has been filled with many discussions over coffee about the layout of our new space. As you can imagine, the decisions we make now will determine our comfort and functionality of our future living. Luckily there are several nomads who have done this before us so it’s been helpful to look at other people’s ideas for our bus conversion.
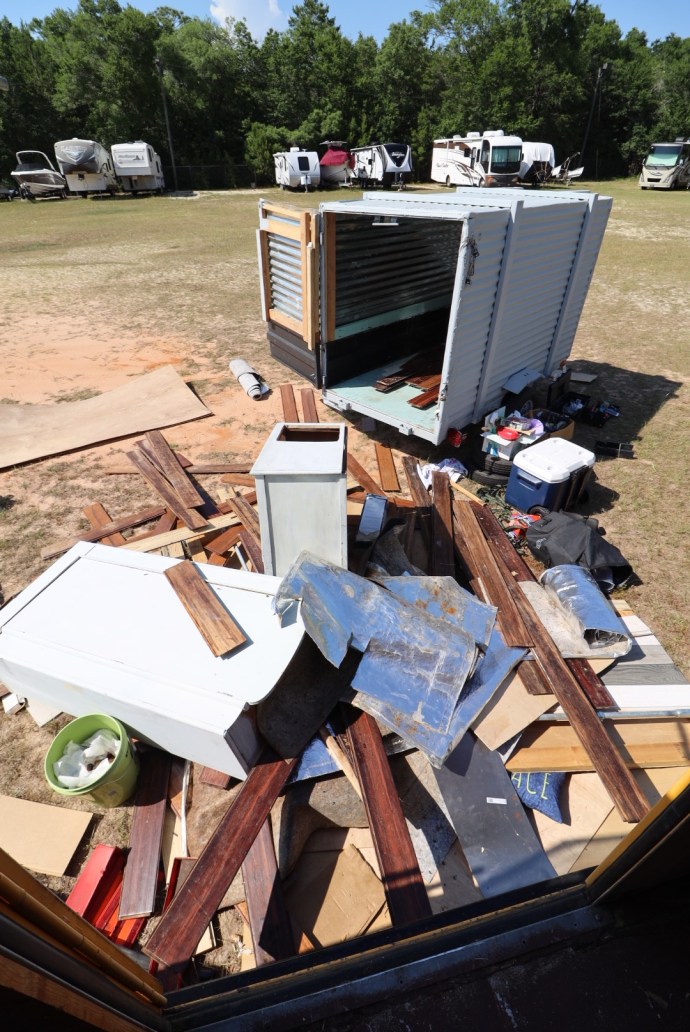
Even though we’d (I’d) rather be drawing out the design and spending time on the color scheme, first things first… create a clean canvas. Matt has definitely gotten his workouts in by removing everything in the bus so we can clean, seal and protect the shell of our home.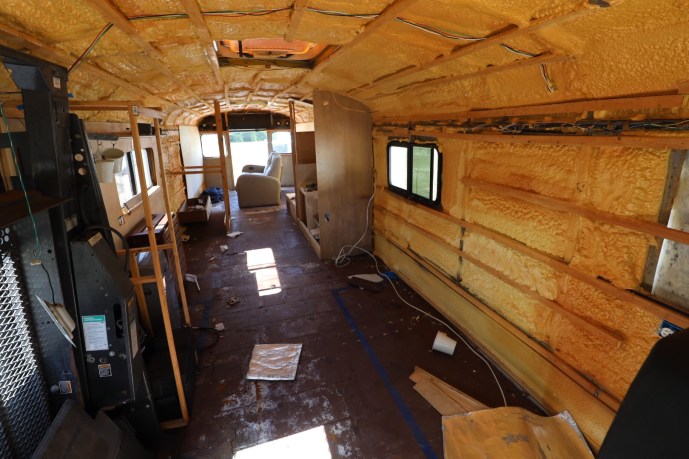
Once the bulky items were removed (and we got a day full of rain) any leaky holes or loose seals were quickly taken care of. Rust was removed then protected with Rustolium and any gaps in the floor were patched up with fiberglass and magic.
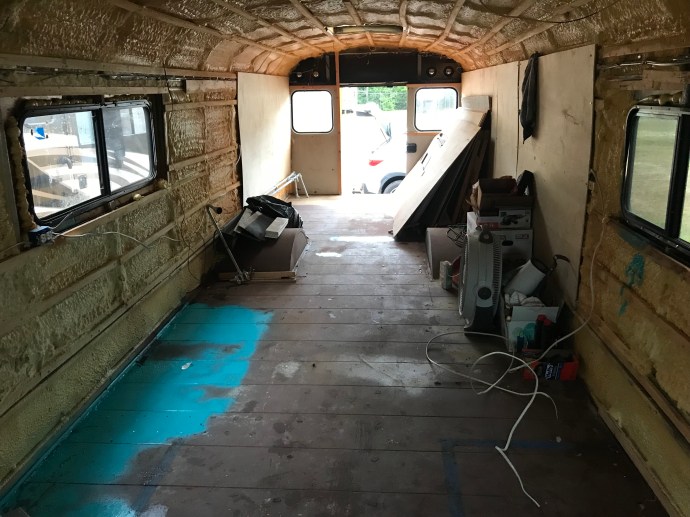
I’ll have to be honest with you, it was hard for me to visualize anything besides a bus until I saw it completely gutted out. Now I can see the endless possibilities for our home on wheels. Of course due to the small square footage, every space needs to be accounted for and every item needs to serve a purpose with multiple uses.
Nerd alert… This excites me!
The following is my husbands quick breakdown of his experience this past week working with his new found love.
Matt + Fiberglass = Endless creations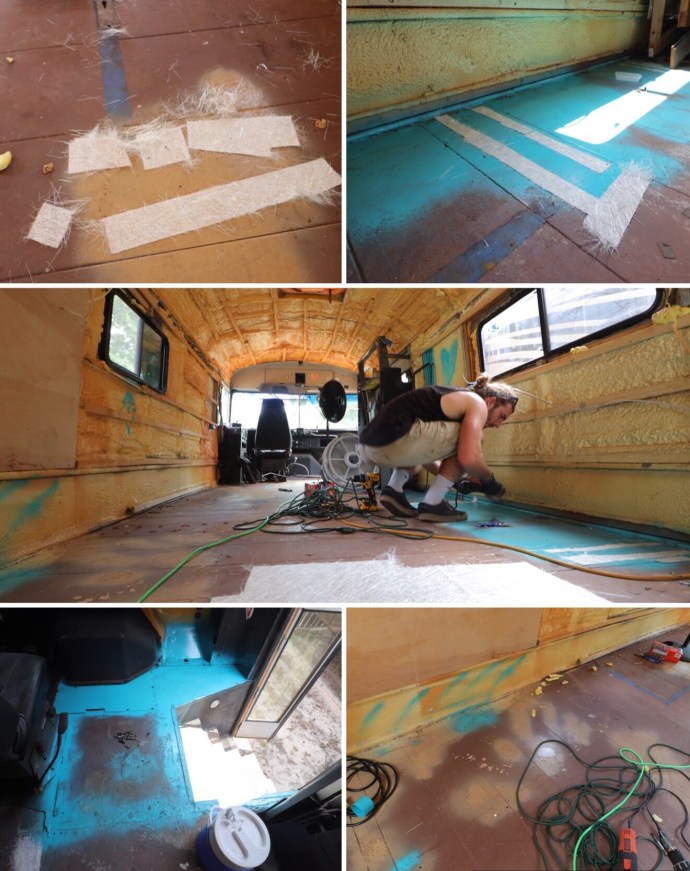
“Laying the fiberglass is a messy, but super crazy awesome process. Especially when you think about all the possibilities and things to create with it.
First Step- Buy raw fiberglass sheets, and Bondo epoxy resin.
Second Step- Find all the spots that need to be sealed, and cut small fiberglass sheets to cover those areas. Prepping is key because the epoxy resin starts to set in about 12 minutes.
Third Step- Mix the resin one to one and have a brush ready! It time to move quick.
Fourth step– Completely saturated the fiberglass with the resin. I started brushing resin on the floor and then on to fiberglass to saturate it. I quickly found that that was not fast enough so I just started dumping it in with my hand!
Fifth step- Lay it out and smooth it with your hand or brush.
And boom! We are all fiberglass experts! That’s how I felt at the end of this process. It was a little stressful because of the time crunch, but it’s a easy process. I’m thinking there will be a lot of this stuff around the bus now!”
Something to look out for! Matt has been filming our bus journey and will soon be posting the videos online. That channel will soon be announced!

BIG job but I love how you are all approaching this. Think light weight for everything – use as a barometer whenever a choice allows. It’ll help with gas mileage and getting up the big hills to visit me!!
Put a respirator on that man!! Bad fumes. Particle mask while sanding
He said “I started with one on…” 🙄 now Im on it. Thanks for reminding us!